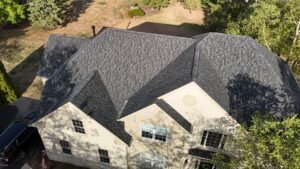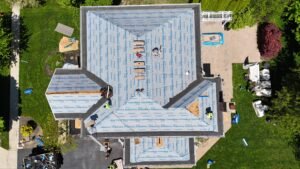

A roof replacement is a coordinated construction project that begins well before shingles arrive. The contractor must evaluate the existing system, measure the roof, select materials, plan property protection, prepare the roof edge, and explain how unexpected conditions will be handled.
Knowing the major steps helps homeowners compare proposals and prepare for installation day. The exact sequence may vary based on roof design, weather, materials, fascia work, gutters, skylights, chimneys, solar equipment, and local requirements.
1. Initial Inspection and Measurements
The contractor evaluates the roof’s visible condition and records dimensions, slopes, penetrations, valleys, walls, ventilation, flashing, gutters, and access. Interior or attic areas may be reviewed when leaks, ventilation, decking, or moisture are concerns.
Measurements are used to estimate shingles, underlayment, starter, ridge materials, flashing, disposal, labor, and waste. A detailed proposal should identify the roofing system rather than listing only a total price.
2. Material and Scope Decisions
Homeowners select the shingle or roofing material, color, warranty option, and applicable accessories. The contractor should explain what happens to existing flashing, vents, gutters, satellite equipment, skylights, and abandoned roof penetrations.
The written scope should also describe decking allowances, permit responsibility, property protection, cleanup, payment schedule, change orders, and how weather delays will be communicated.
3. Scheduling and Delivery
Installation is scheduled after the contract, material availability, permits, and other project requirements are addressed. Materials may be delivered shortly before installation and placed on the roof or at an approved location on the property. Driveways, lawns, overhead wires, septic areas, and access limitations need to be considered.
Weather remains an important factor. A responsible contractor may adjust the schedule when rain, high winds, extreme heat, or unsafe conditions could affect workers or exposed materials.
4. Preparing the Home and Property
Roof work creates vibration, noise, dust, and falling debris. Before work begins, homeowners may need to move vehicles, unlock gates, protect fragile items, identify sprinkler heads, remove wall decorations, cover attic belongings, secure pets, and discuss landscaping or exterior features that require extra care.
The crew may use tarps, plywood, catch systems, trailers, or other methods to protect siding, windows, doors, landscaping, decks, air-conditioning equipment, and walkways. Property protection should be appropriate for the site’s layout.
5. Removing Existing Roofing Materials
Most replacement projects begin by removing the existing shingles and underlayment. Tear-off allows the crew to evaluate the roof deck and install the new system on a prepared surface. Debris is directed into a container or controlled collection area to reduce contact with the home and landscaping.
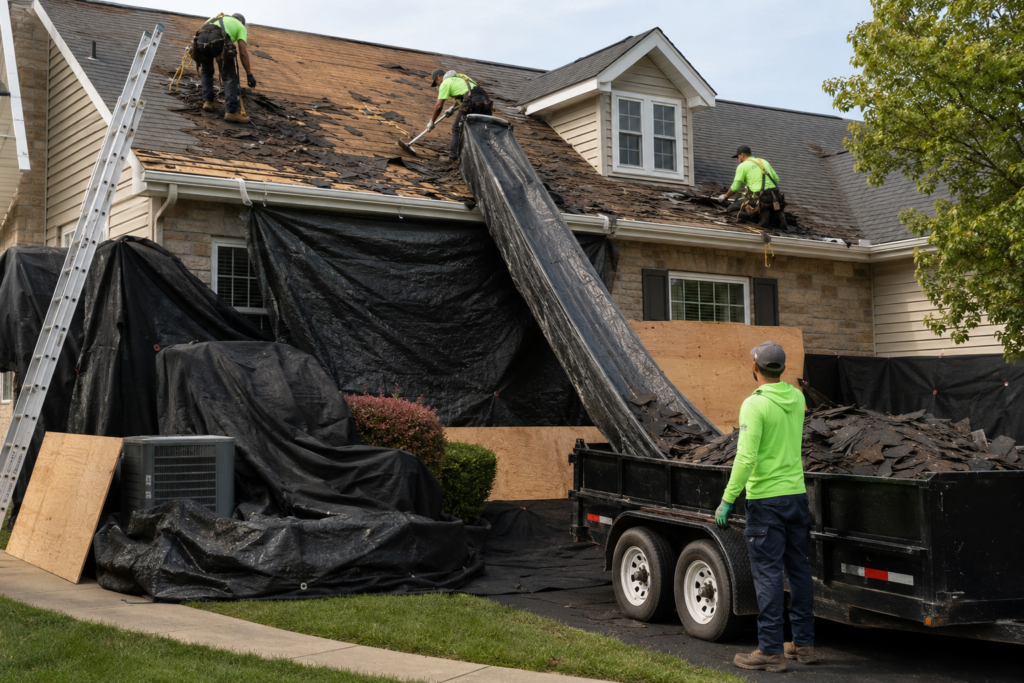
Removing old materials may reveal conditions that were not visible during the initial inspection, including deteriorated decking, previous repairs, missing flashing, abandoned openings, or multiple roofing layers.
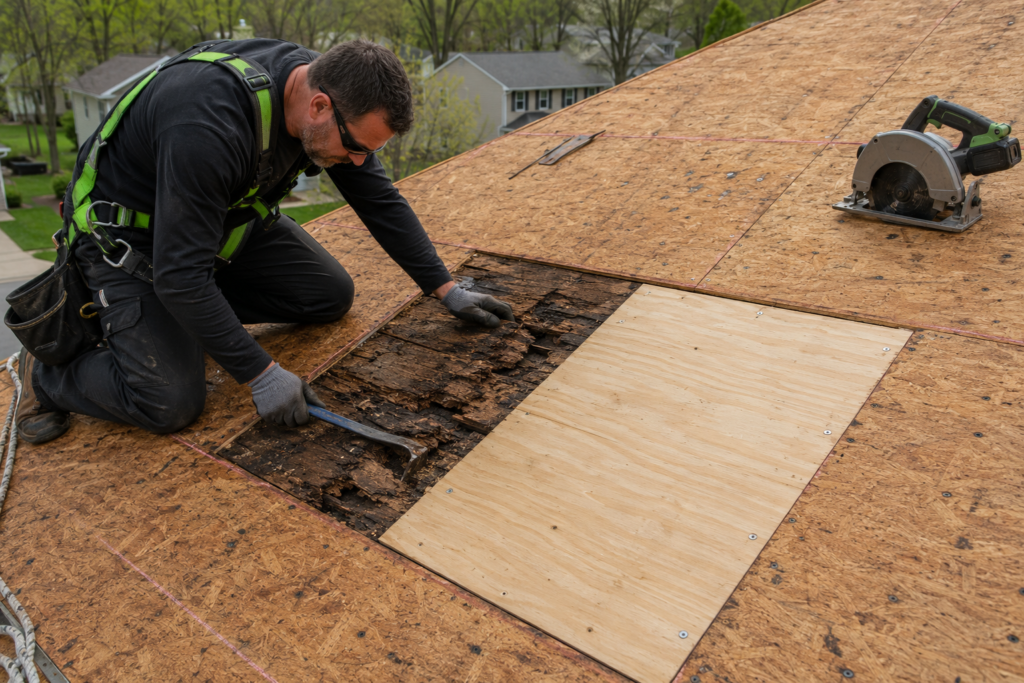
6. Inspecting and Repairing the Roof Deck
The roof deck provides the structural surface for the roofing system. Soft, rotted, delaminated, broken, or improperly spaced decking may need to be replaced or corrected before new materials are installed. The contract should explain how decking repairs are priced and approved.
This stage is important because covering damaged decking can affect fastening, surface alignment, and long-term performance. Photographs can help document discovered conditions and completed repairs.
7. Installing Underlayment and Eave Protection
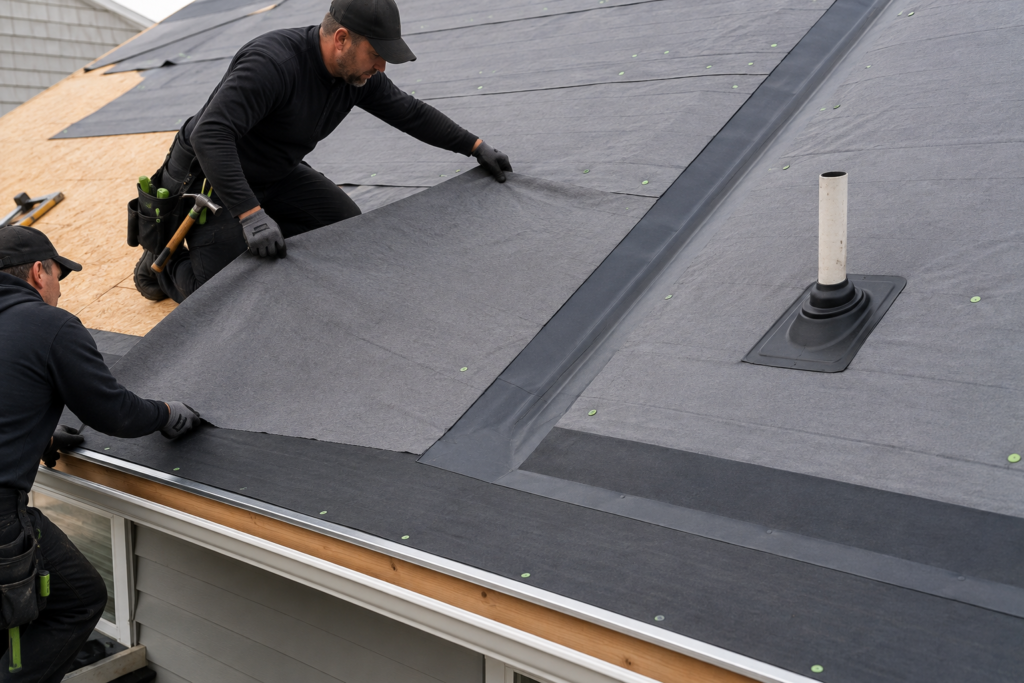
After the deck is prepared, the crew installs underlayment and any required or specified self-adhered protection at eaves, valleys, walls, or penetrations. These materials provide secondary protection and must be integrated correctly with flashing and roof-edge components.
8. Drip Edge, Flashing, and Roof Penetrations
Metal drip edge helps protect the roof perimeter and direct water at the eaves. Chimneys, walls, plumbing pipes, vents, skylights, and valleys require specific flashing details. Reusing, replacing, or modifying existing flashing should be addressed in the project scope.
Caulk should not be treated as a universal substitute for properly layered metal flashing. The components need to direct water over the materials below them and toward the drainage system.
9. Starter Shingles and Field Shingles
Starter shingles are installed along designated roof edges to support wind resistance and seal the first course. Field shingles are then installed in the required pattern using the correct fasteners and placement. Valleys, walls, transitions, and penetrations receive additional attention as each course is completed.
10. Ridge Caps and Ventilation
The upper roof edges are finished with compatible ridge-cap materials. If ridge ventilation is part of the design, the opening, vent product, intake ventilation, and attic configuration should be coordinated. Installing an exhaust vent without a clear intake path does not create a balanced system.
11. Gutters, Fascia, and Exterior Details
Existing gutters may remain, be temporarily removed, or be replaced depending on their condition and the roof-edge plan. Fascia damage should be addressed before gutter hangers are secured. Downspouts, siding, trim, and flashing connections should be checked for damage or interference.
12. Cleanup and Final Inspection
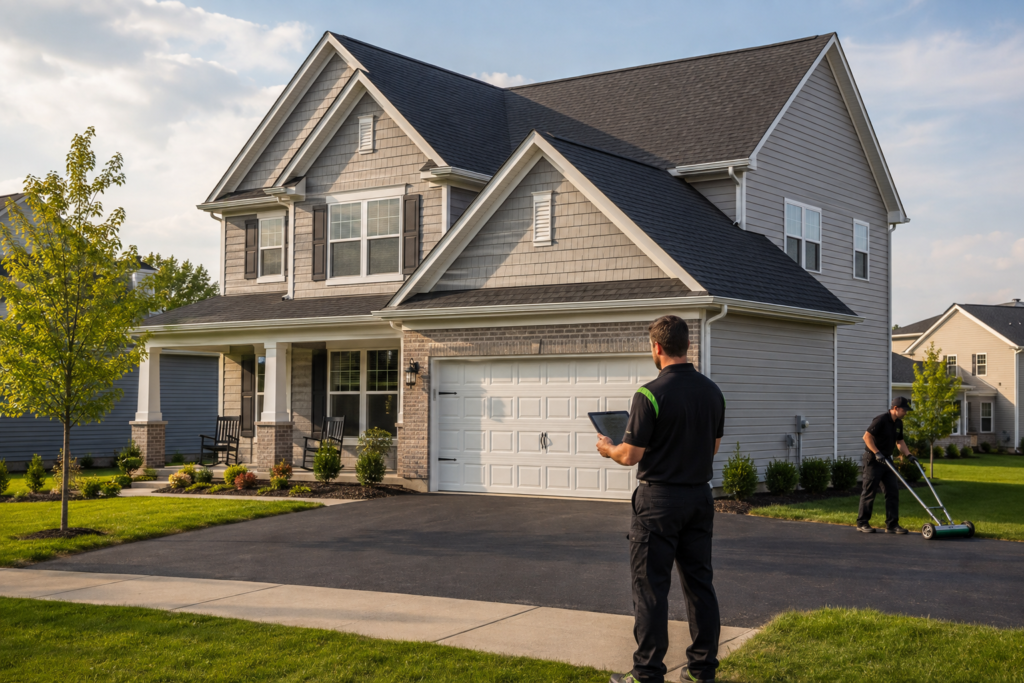
The crew removes debris, packaging, unused materials, and temporary protection. Magnetic tools may be used to collect accessible metal fasteners, although homeowners should continue to use normal caution around landscaping after any construction project.
A final review should evaluate workmanship, flashing, vents, gutters, cleanup, and any agreed repairs. The homeowner should receive warranty information, maintenance guidance, final documentation, and an explanation of who to contact with questions.
How Long Does Roof Replacement Take?
Many straightforward residential asphalt-shingle roofs can be completed relatively quickly, but no universal timeline applies. Roof size, slope, height, complexity, weather, material type, decking repairs, crew size, access, and inspection requirements can extend the schedule.
The contractor should provide an expected window and communicate changes. Speed is useful, but it should not come at the expense of decking evaluation, flashing details, ventilation, safety, property protection, or cleanup.
Frequently Asked Questions
Do I need to leave the house during roof replacement?
Many homeowners remain home, but the work is loud and creates vibration. Remote work, pets, children, sleep schedules, and individual comfort should be considered. Follow the contractor’s safety instructions.
What happens if rain starts after tear-off?
Contractors monitor weather and stage work to limit exposure. Temporary protection may be used when conditions change. Ask how the company handles unexpected rain before the project begins.
Can hidden damage increase the price?
Yes. Decking, structural, flashing, or ventilation conditions may not be fully visible until materials are removed. The contract should explain allowances, unit pricing, documentation, and approval of change orders.
Will roof replacement damage my gutters?
The plan should explain whether gutters remain, are protected, are temporarily removed, or are replaced. Ladder placement, debris control, fascia condition, and drip-edge integration all matter.
When can I put decorations back on walls?
Once the major tear-off and installation activity is complete and the contractor confirms it is safe, items can usually be returned. Fragile objects should remain protected until the project is finished.
Plan Your Roof Replacement With Assured Restoration
Assured Restoration provides roof replacement, roof repair, gutters, siding, storm restoration, and exterior inspections throughout Columbus and surrounding Central Ohio communities.